Apple Notes voice to text: choose the result
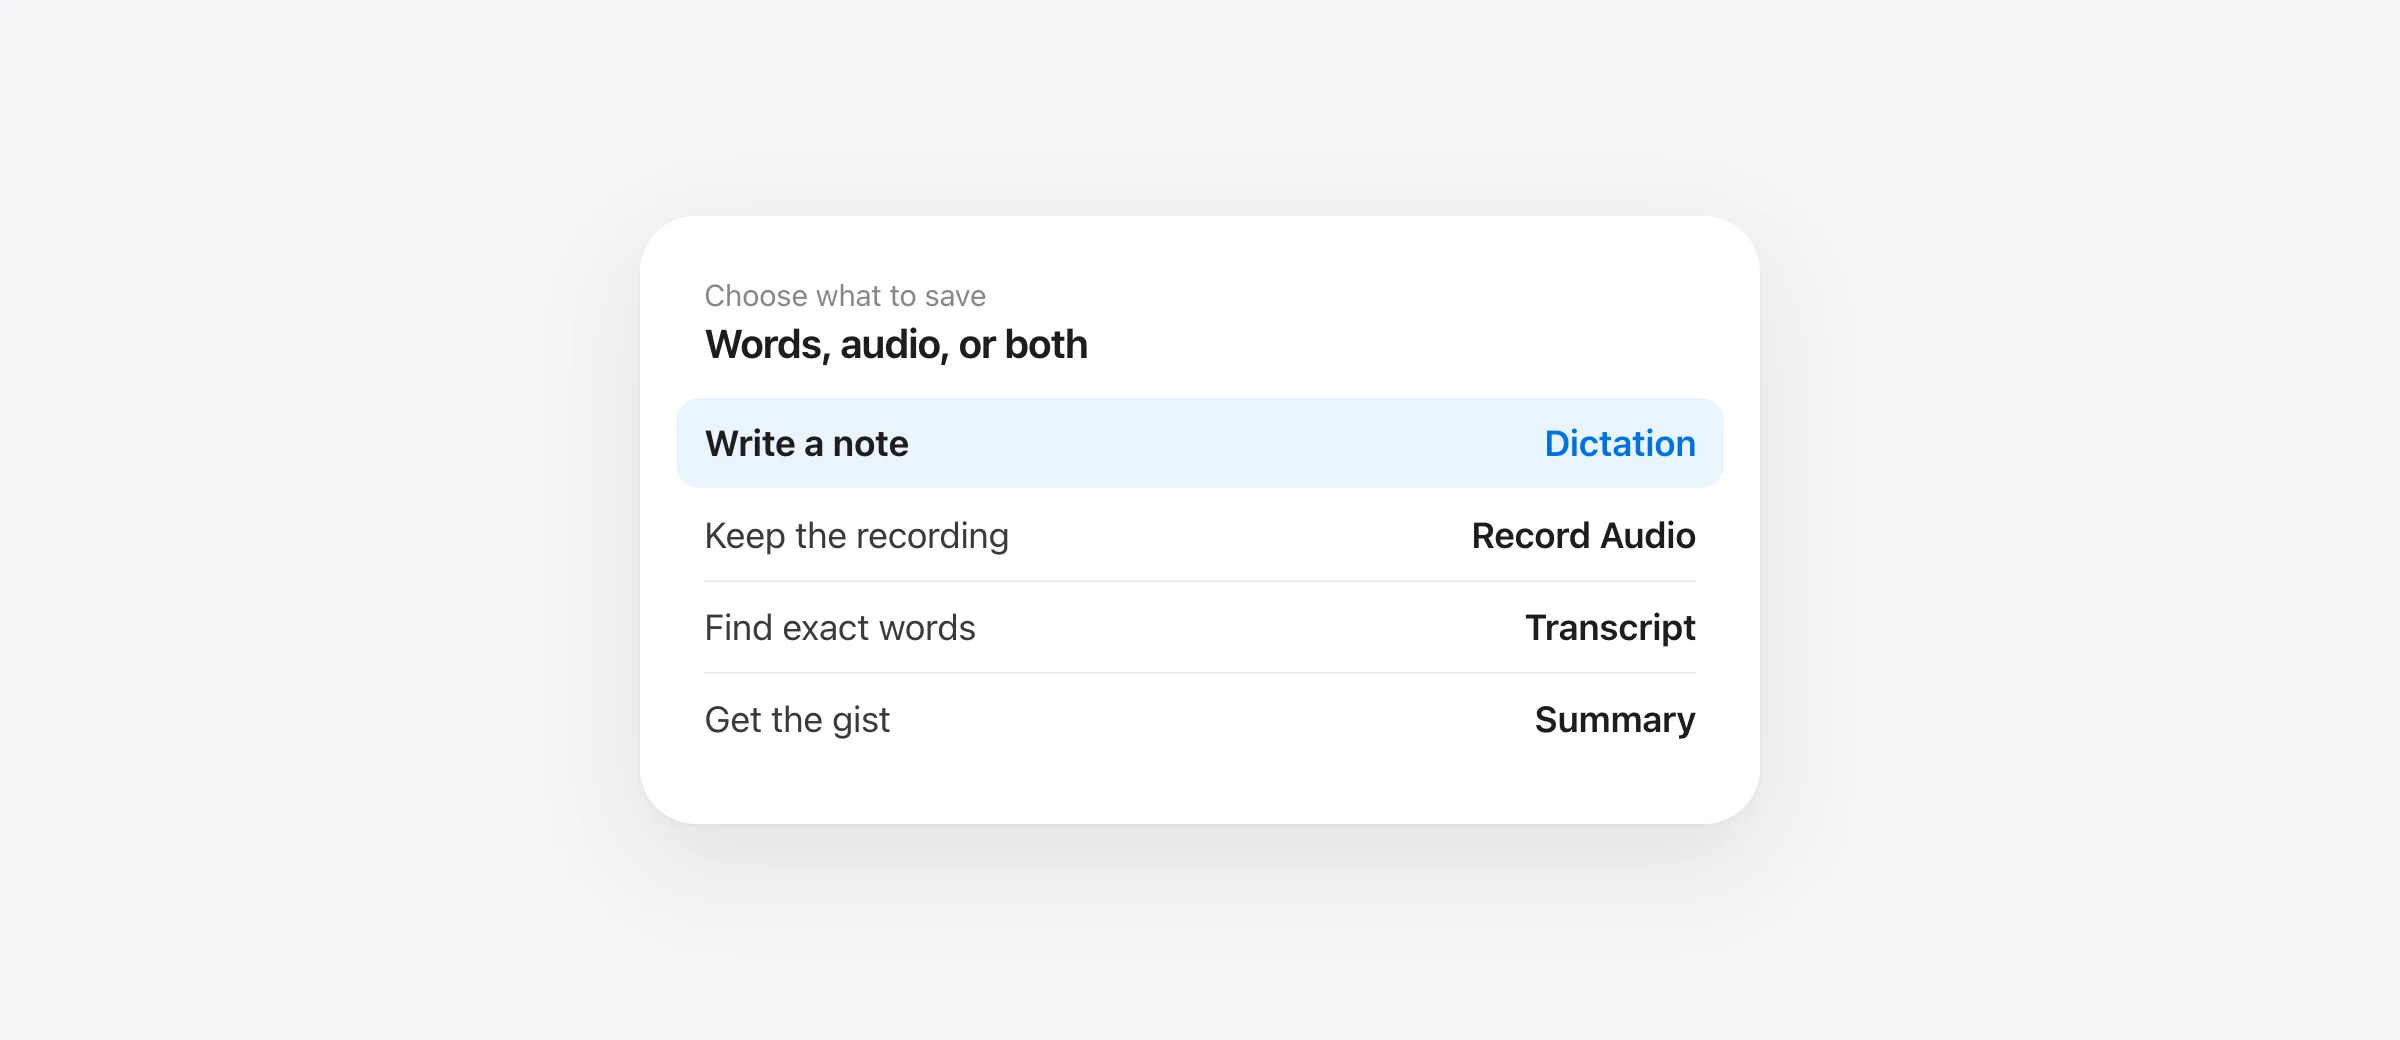
- Words in the note immediately: click in the note body and use macOS Dictation or a Mac dictation app.
- Audio you can replay: use Notes’ Record Audio control. On a supported Mac and device language, you can view, search and copy the transcript.
- A short takeaway from a recording: Apple Intelligence can optionally summarize it where available. Check important details against the transcript and audio.
Apple Notes voice to text on Mac offers two useful paths that look similar but produce different things. Dictation enters editable text wherever your cursor sits in the note. Notes’ audio recorder keeps a playable recording and can show a transcript. If you start recording because you wanted a paragraph, you may need to copy the transcript into the note body afterward. If you dictate because you wanted a source you can replay, ordinary text entry will not save that recording.
Apple documents both routes. The right one depends on whether you are capturing a passing thought, preserving a conversation, or turning spoken material into a note you will review later.
Dictation, recording and summaries are different
| Route | What it creates | Use it when | Important condition |
|---|---|---|---|
| Mac Dictation in a note | Editable text at the insertion point | You want to write a note or checklist now | Dictation enabled; cursor in an editable note |
| Notes Record Audio | Playable recording attached to the note | You want to replay exact words later | Recording option available in that account |
| Notes audio transcript | Searchable, copyable transcript of a recording | You need words from saved speech | M1 or later and supported device language |
| Apple Intelligence summary | Generated overview of a recording | You need a quick outline after recording | Apple Intelligence available and enabled |
The distinction matters for retrieval. A dictated sentence is already in the note body. For a Notes audio recording, Apple says you can view, search and copy the transcript from the recording details. To use the transcript as ordinary text in the note body, choose Copy Transcript and paste it there. A summary is a further processing step, not a substitute for checking the source when names or decisions matter.
How to dictate directly into an Apple Note
- Open the intended note. Create a new note or click into an existing note body. Confirm the editing cursor is where the words should appear.
- Start Mac Dictation. Use the Microphone key if your keyboard has one, your configured Dictation shortcut, or Edit → Start Dictation where available.
- Speak a short test sentence. Stop with Escape, the Microphone key, or the Dictation shortcut and confirm the words landed in the note.
- Continue in small sections. Review names, dates and negations before speaking the next section.
- Turn the draft into a note. Apply a title, heading or checklist using Notes’ formatting controls after the wording is correct.
If Dictation is off, go to System Settings → Keyboard → Dictation and enable it. Apple’s Mac Dictation guide describes the shortcut and says you can say “new line” or “new paragraph” for basic structure. The configured shortcut varies, so inspect the setting on your own Mac rather than assuming a particular key combination.
For a quick capture from another app, Apple’s Quick Note guide describes opening a Quick Note with Fn/Globe–Q or a hot corner. Once the Quick Note has an insertion cursor, Dictation is still the Mac text-entry route. Test that you are speaking into the Quick Note, not the window behind it.
Mac Dictation’s processing location is not identical for every configuration. Apple says the text under Keyboard → Dictation indicates whether general text Dictation is processed on device or sent to Siri servers. If processing location matters, check that setting; do not infer it from the fact that Notes is an Apple app.
How to record and transcribe audio inside Notes
Use this route for an interview, lecture, long idea, or any passage where you may need the original audio. Apple’s Notes audio guide describes the following flow:
- Open or create a note. Click the toolbar’s Attachment button, then choose Record Audio.
- Start the recording. Click Record in the audio details area. You can keep editing the note while audio is captured.
- Finish deliberately. Pause or stop, give the recording a useful title if needed, and click Done.
- Open the transcript. Double-click the recording in the note. Use the More menu to Find in Transcript or Copy Transcript.
- Paste only the useful part. If you need normal note text, paste the copied transcript into the note body and edit it there. Keep the recording when you may need to verify the wording.
Apple lists M1 or later plus a supported device language for audio transcription: English, Spanish, Portuguese, Italian, French, German, Japanese, Korean, Simplified Chinese or Traditional Chinese. Feature availability can vary by region and account. Apple says all features in this Notes guide are available with iCloud notes and some are unavailable with other account providers. Check the note’s account before troubleshooting the microphone.
Transcription and summarization have different requirements. Apple documents viewing and copying the transcript in the recording workflow. Its Apple Intelligence in Notes guide covers the optional summary, which needs Apple Intelligence to be available and turned on. You do not need to use a generated summary to read the transcript.
Build a useful note from speech
Do not make recognition quality carry the whole job. A useful note also needs a specific title, a reliable statement of what happened, and the next action. A quick editing pass is often enough.
| What you said | What to put in the note |
|---|---|
| “Mina said the export screen was confusing. We should ask for a screenshot. I think the old Mac issue is separate, but check it before shipping.” | Export feedback — Mina Observation: Mina found the export screen confusing. Next actions: ask for a screenshot; test export on the older Mac before release. Open question: is the older-Mac issue related? |
This is an original editing example, not a claim that Notes or Murmur will automatically create that structure. It preserves the uncertainty in “I think” instead of converting it into a confirmed cause. Use Notes’ formatting and checklist controls for the final action items. If you recorded audio, keep the clip as the source and paste a reviewed extract into the body for faster reading.
For repeated project names, test a small vocabulary change in the speech tool you actually use. Our Mac dictation vocabulary guide explains why a spelling dictionary, recognition vocabulary, replacement and snippet are not interchangeable. If your notes are in Markdown rather than Apple Notes, see our Obsidian voice-to-text guide for a linked-note workflow.
When a separate Mac dictation app makes sense
Mac Dictation may be enough for occasional note entry. A separate app is more relevant if you dictate across Notes, mail, chat and other tools, or if you repeatedly need the same shortcut and vocabulary. Murmur uses hold-to-talk with right Command and inserts text at the focused cursor. It runs speech processing on a compatible Mac: Apple silicon and macOS 26 or later. Try it in a disposable Notes entry before assuming a shortcut works in every surface.
A text-inserting app addresses the drafting path. It is not a replacement for Notes’ audio recorder when you need a recording you can replay, attach or audit later. It also does not change the note’s account or sync destination. Local transcription on the Mac and storage of the finished note are separate decisions.
Our offline dictation guide covers how to verify that speech recognition and any cleanup stage work without a connection. For Apple’s own Dictation, rely on the current Keyboard setting for your device instead of a universal local-versus-cloud claim.
Why a Notes transcript may be missing
No transcript after recording: confirm you are opening the recording details by double-clicking the audio in Notes. Then check the Mac chip and device language against Apple’s documented requirements. A recording can exist even when transcription is unavailable.
Record Audio is absent: check which Notes account holds the note. Apple says its full documented feature set is available for iCloud notes, while third-party accounts may have fewer features. Also confirm you are using a current Notes version and an editable note. Do not treat a missing control as a dictation shortcut problem.
Dictation types nothing: first verify the cursor in the note body, then test Dictation in another app. If it fails everywhere, inspect System Settings → Keyboard → Dictation and microphone permission. Our Mac Dictation troubleshooting guide walks through the system-level checks.
The transcript exists but is not in the note body: open the recording, choose Copy Transcript, and paste the desired text into the note. The recording panel and note body are different surfaces.
A summary changes a detail: compare it with the transcript and replay the relevant audio. Apple cautions that generated summaries can vary. Preserve exact names, dates and decisions yourself before sharing a summary.
A five-minute choice test
- Dictate a 20-second idea into a new note. Count the corrections and check whether it remains readable tomorrow.
- Record a 20-second idea in a second note. Open and copy the transcript, then note how much editing it needs.
- Choose by the artifact. Keep direct dictation for quick text; keep recording when replay or verification matters.
- Verify sharing. If the note is in a shared iCloud folder, confirm its audience before adding private audio or a transcript.
Apple’s sharing guide notes that a note added to a shared folder is automatically shared with the folder’s collaborators. That makes the destination note as important as the speech tool. For private or work material, check the account and folder before recording, dictating or pasting a transcript.
Voice to text in Notes is most useful when you choose the correct output at the start: an editable draft for immediate writing, or a recording plus transcript for review. The final check is the same for both: does the note preserve what was actually said, and can you find the part you need later?
Frequently asked questions
How do I dictate into Apple Notes on Mac?
Open a note, click where the text should go, then use the Mac Dictation shortcut, Microphone key, or Edit → Start Dictation where available. Speak, stop Dictation, and review the inserted text. Configure Dictation under System Settings → Keyboard.
Can Apple Notes transcribe a recording on Mac?
Yes. Record audio inside a note, then open the recording to view, search and copy its transcript on a supported Mac. Apple lists M1 or later and a supported device language for Notes audio transcription.
Why is the transcript missing in Notes?
Check the Mac chip and device language against Apple's requirements, confirm the audio was recorded in a supported Notes account, and open the recording details. Apple says all features in its guide are available for iCloud notes, while some may not be available for other accounts.
Is Notes dictation the same as audio transcription?
No. Dictation enters text at the cursor while you speak. Notes audio recording preserves a playable clip and, on supported Macs, a transcript you can inspect, search and copy into the note body.
Do I need Apple Intelligence for a Notes transcript?
Apple's Notes guide lists transcript viewing and copying separately from Apple Intelligence summaries. Apple Intelligence is used for the optional summary, with its own availability requirements.
Sources

Telman Gadimov builds Murmur, a dictation app for Mac that runs entirely on-device. We make Murmur, a Mac dictation app mentioned here. Apple feature requirements and steps were checked against the linked official documentation on October 13, 2026. Example notes are suggested workflows, not measured recognition results.


