The short answer
- Want words in the note now? Put the cursor in an editable note and try Mac Dictation or a cursor-inserting dictation app.
- Want the original audio? Use Obsidian’s Audio recorder, then choose a transcription route if you also need searchable text.
- Want speech controls inside Obsidian? Evaluate a community plugin, checking its platform, model, provider and data path first.
- Want a useful note? Review names and claims, then add real headings, task boxes and links.
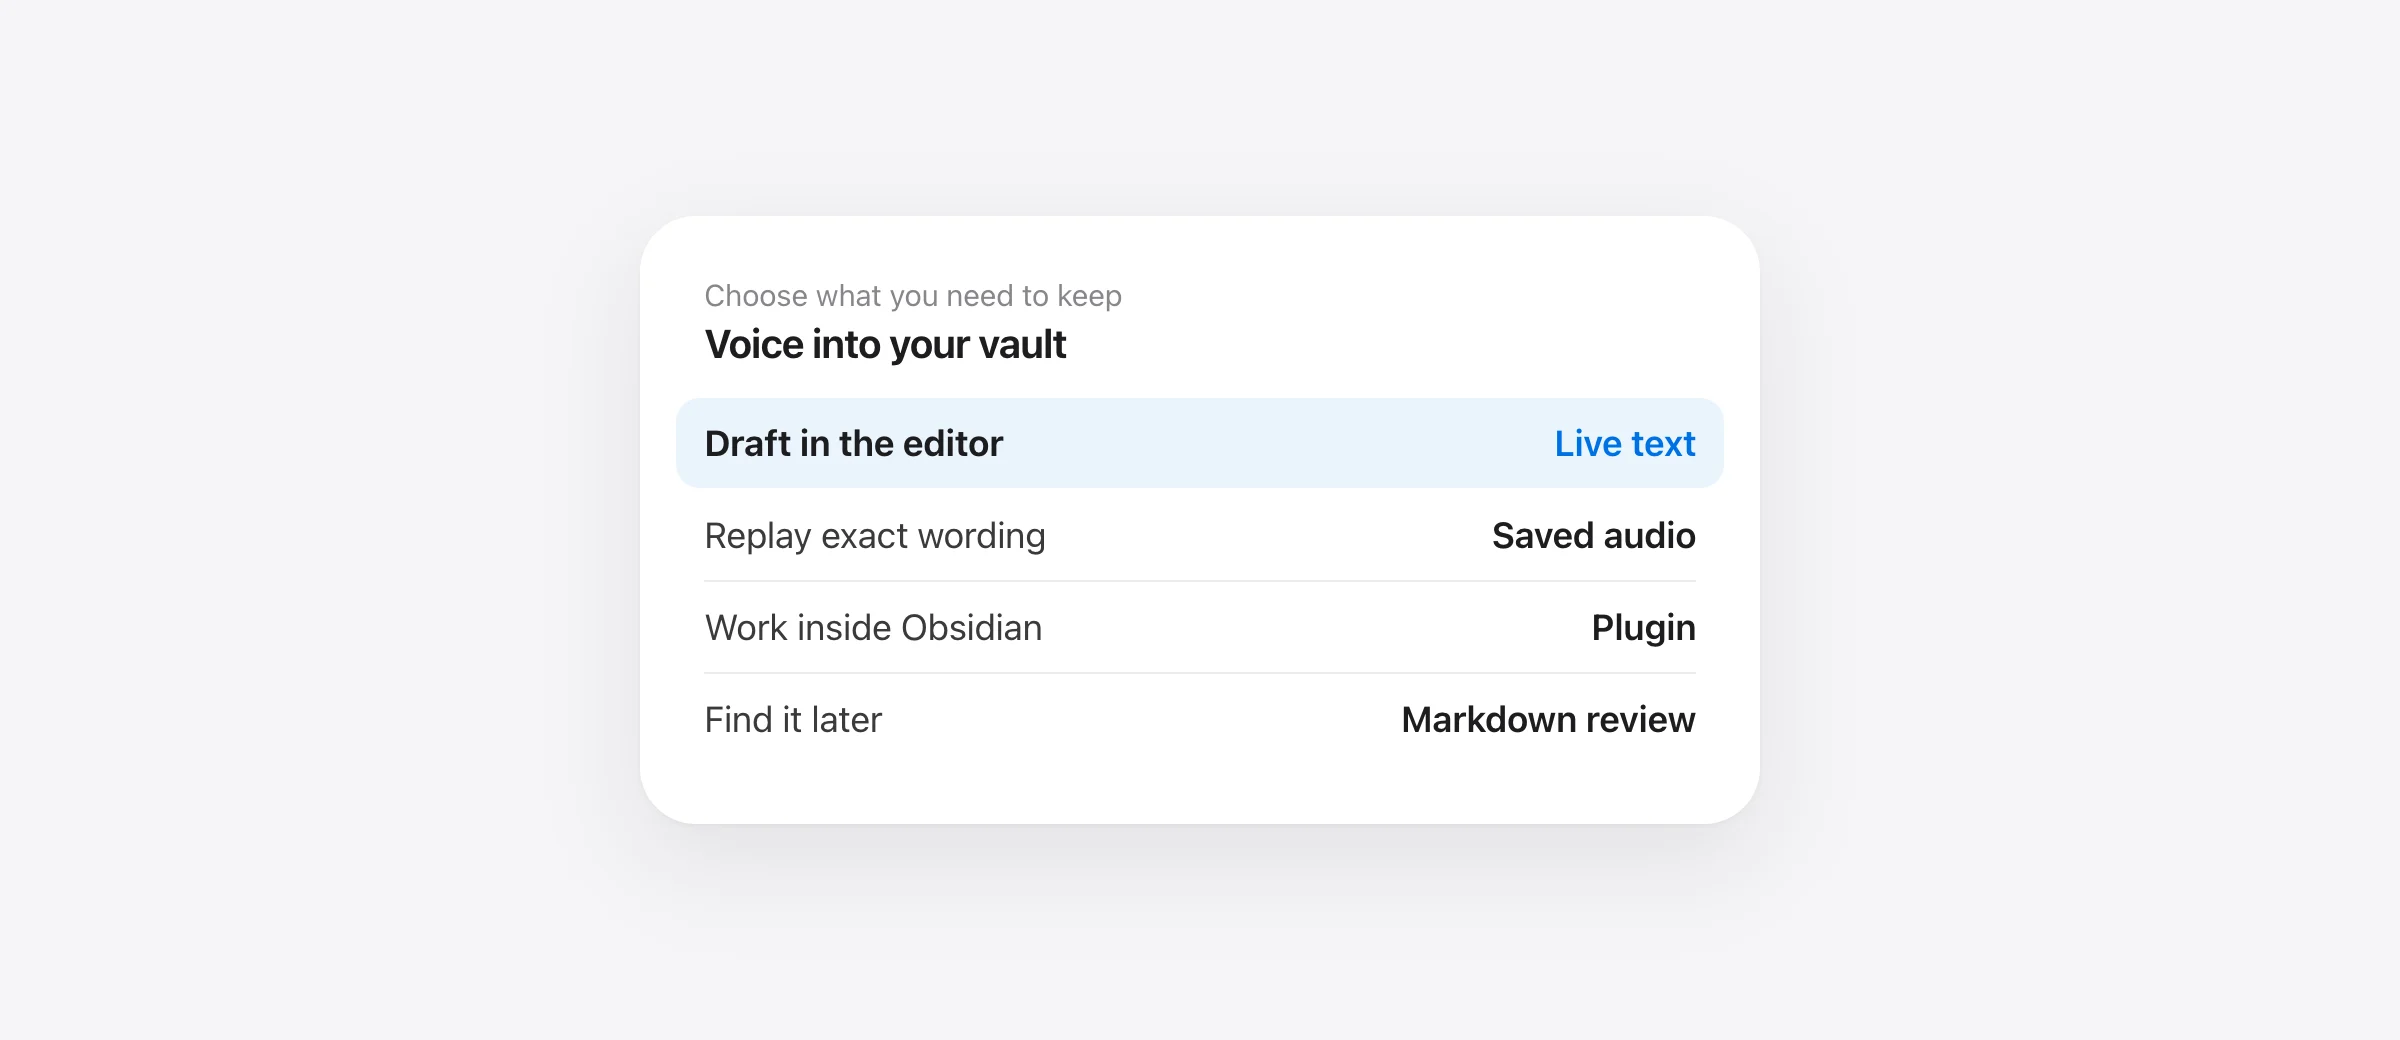
Obsidian voice to text on Mac is not one feature or one workflow. You can speak into the editor with a Mac-wide dictation tool, save audio in a note, or install an Obsidian plugin that transcribes speech. The important distinction is what you have when you stop talking: editable text, an audio file, or both.
For a quick idea or daily note, direct text insertion is usually the least setup. For an interview or a thought you may want to replay, keep the recording. For regular transcription from inside Obsidian, a plugin may be worth the extra setup. Here is how to choose and test each route without losing the structure that makes a vault useful.
Choose the right voice-to-text route
| Route | Best for | What appears in your note | Check first |
|---|---|---|---|
| Mac Dictation | Occasional live drafting | Text at the active cursor | Keyboard shortcut, focused editor and Dictation settings |
| Mac dictation app | Frequent speech across apps | Text inserted into Obsidian’s editor | Mac requirements, microphone permission, processing and shortcut |
| Obsidian Audio recorder | Keeping the original voice memo | A saved audio recording linked in the note | Storage location and a separate transcription plan |
| Obsidian transcription plugin | Recording or transcribing within the vault | Depends on the plugin; often text plus optional audio | Supported platform, model or API, and where audio goes |
These routes solve different problems. Obsidian’s core Audio recorder saves audio in a note; it is not itself a promise of searchable transcription. The community plugin system can add that capability, but each plugin has its own setup and behavior.
Method 1: dictate directly into an Obsidian note with macOS
- Open a scratch note. Click in the note body so an editing cursor is visible. If you are reading a note in Reading view, switch to an editing view first.
- Start Dictation. Use your Mac’s Microphone key, configured Dictation shortcut, or Edit → Start Dictation where available. Set or inspect the shortcut in System Settings → Keyboard → Dictation.
- Speak one short paragraph. Pause, stop Dictation, and confirm that the words landed in the note you intended.
- Review before expanding. Check project names, numbers, negations and punctuation. Then try a longer paragraph.
Apple’s Mac Dictation instructions describe the shortcut and basic text-entry flow. The shortcut can vary with your Mac and settings, so use the one shown on your machine. If nothing appears in Obsidian, try a plain text field elsewhere. That separates a Mac Dictation setup problem from a focus or editor problem.
Do not begin a ten-minute note before the one-sentence test. A shortcut can be captured by another app or plugin, and a focused search box can receive your words instead of the note body. A short test catches both.
Method 2: use a Mac dictation app across Obsidian and your other tools
If you regularly dictate into mail, chat, documents and Obsidian, an app that inserts text at the active cursor can keep the same input routine across them. In Murmur, hold right Command, speak, and release to insert text. Murmur’s speech processing runs on the Mac; it requires Apple silicon and macOS 26 or later. It has a free 2,000-word trial. Check the receiving app’s own sync settings separately: local speech processing does not stop a vault from syncing after insertion.
For Obsidian, start in a blank note. Place the cursor below any existing properties or template text, dictate a sentence, and confirm where it landed. Repeat in the type of note you actually use: a daily note, a project page, or a meeting note. A successful test in one editor pane does not prove the same shortcut and insertion behavior in every pop-up or plugin field.
Choose a mode that preserves what you mean. For raw notes, a restrained mode may be better than one that aggressively rewrites. A cleanup step can make prose easier to read, but you should inspect whether it changed a date, a person’s name, a quoted statement or a task owner. Murmur’s dictionary can help with repeated names; our custom vocabulary guide shows how to test that without introducing unwanted replacements.
Method 3: capture audio in Obsidian, then transcribe when needed
Enable Obsidian’s Audio recorder under Settings → Core plugins if you need the original recording. Obsidian documents that it records and saves audio in a note. Keep that audio when exact wording, tone or a later correction matters. A text-only dictation session will not give you the same playback source.
Decide how the recording becomes searchable text. You may transcribe it with a tool outside Obsidian and paste the result into the note, or use a plugin that explicitly supports existing recordings. For example, the community Dictation plugin describes a command to transcribe an existing recording, as well as capture-and-transcribe. It requires Obsidian’s Audio recorder, microphone permission and a configured transcription provider with an API key. Its listing says the selected audio is sent to that provider when you choose Transcribe. Check current provider terms and costs before enabling it.
If you want an on-device plugin instead, Speech Kit describes local dictation and local file transcription for desktop Obsidian. Its setup wizard installs a native engine and speech model; after the required downloads, its core speech features are described as working offline. Confirm the supported macOS version, machine architecture and language in the current plugin listing. An installed plugin with no compatible speech model is not yet an offline workflow.
Community plugins can access more of your vault than a text field alone. Read the current plugin description, review its network behavior, and install from Obsidian’s community browser if you decide it fits. Cloud provider, local engine and audio retention are separate choices; “inside Obsidian” does not by itself mean “on device.”
Turn a spoken draft into usable Markdown
Speech is good at capturing a thought before it disappears. Obsidian is good at structuring and connecting thoughts. Treat those as two passes. Dictate the content first, then make the note navigable with a few deliberate edits.
| Spoken draft | After a short review |
|---|---|
| “The onboarding interview with Mina suggests the export screen is confusing. Ask Mina for a screenshot. Link this to the release review. Check whether export fails on older Macs.” | ## Onboarding interviewMina found the export screen confusing. - [ ] Ask Mina for a screenshot- [ ] Check export on older MacsRelated: [[Release review]] |
The second version is an editorial example, not output promised by a speech tool. It adds a heading, two task boxes and a link, while preserving the uncertainty about the export issue. The screenshot request was a task; “export fails” was still a question to check, not a confirmed bug. That distinction matters more than perfect punctuation.
Obsidian’s formatting guide documents task-list syntax, and its internal-links guide documents wikilinks such as [[Release review]]. You can say the name of a related note while dictating, but check the brackets and target afterward. A transcription of “release review” is ordinary text until the required link syntax is actually present.
For a repeatable note, begin with a template or simple headings already in place, such as Context, Decisions and Next actions. Dictate under the appropriate heading. That is usually easier to review than asking a general dictation tool to invent Markdown structure while you speak. If your chosen plugin has explicit spoken formatting commands, test those commands separately and confirm the resulting source text.
A five-minute test for your own vault
Do this in a disposable note before changing your everyday workflow. It tests output quality and whether the text reaches the right place.
- Write the acceptance criteria. Pick one person’s name, one project term, one date, one task and one note to link.
- Speak a 30-second note. Use your normal microphone and the route you plan to keep.
- Inspect the inserted text. Mark wrong names, missing negations, changed dates, surprise edits and misplaced text.
- Make it an Obsidian note. Add one heading, one task checkbox and one internal link; confirm they render correctly.
- Repeat offline if that matters. Disconnect only after installing any required models; verify the entire route, including cleanup, rather than assuming “local” from a label.
Keep the raw draft and the reviewed version for comparison. If the first draft is understandable but editing Markdown takes too long, use more structure before speaking. If the draft repeatedly mishears the same name, fix vocabulary or choose a different recognition route. If it enters the wrong pane, fix focus and shortcuts before judging recognition quality.
Common failures and the fastest checks
Nothing appears: check the insertion cursor, microphone permission and whether the chosen shortcut is already assigned in macOS or Obsidian. Try a short sentence in another app, then return to a new Obsidian note. For a plugin, verify it is enabled and that any required model or provider is configured.
Only an audio link appears: that is expected from the core Audio recorder. Choose a transcription step; recording alone does not create a transcript.
A plugin works online but not offline: inspect whether it uses a remote provider or still needs a model download. Test without the network only after setup is complete. Our offline Mac dictation guide explains why local transcription and local cleanup must both be checked.
The note reads well but its structure is wrong: open the Markdown source. Look for the literal task marker - [ ], heading markers and valid links. Do not infer structure from how a sentence sounds or from an AI-polished paragraph.
Technical names keep changing: save the intended spelling, the observed mistake and its sentence context. Test a small vocabulary change, then an ordinary-word control that must not change. If you dictate developer notes and prompts too, our developer dictation guide includes a trial for identifiers and constraints.
Keep the route that produces a note you will use
For short personal notes, start with Mac Dictation in an editable note. For regular text entry across apps, trial a Mac dictation app. For voice memos you need to replay, record the audio and add transcription deliberately. For an all-in-Obsidian workflow, choose a plugin based on the speech engine and data path you actually want. If built-in recording and transcription matter more than Markdown links, compare the Apple Notes voice-to-text workflow on Mac.
Whichever route you choose, budget one quick review for names, factual claims, tasks and links. Searchable text is only the first step. The value is a note that still says what you meant and connects to the rest of your vault.
Frequently asked questions
How do I dictate into Obsidian on a Mac?
Open a note in edit mode, place the cursor in its body, and start macOS Dictation from its configured shortcut or Microphone key. A Mac dictation app that inserts text at the cursor is another option. Test a short sentence before a long session.
Does Obsidian's Audio recorder turn speech into text?
Obsidian's core Audio recorder records and saves audio in a note. For a transcript, use a separate transcription tool or a community plugin that explicitly supports transcription.
Can I dictate into Obsidian offline?
Yes, with a dictation route that actually performs speech recognition locally and has its required model installed. Check the chosen route's settings and test with the network disconnected; a cloud transcription plugin will need its provider.
Which Obsidian plugin supports local voice to text?
Speech Kit, formerly Local Dictation, describes on-device dictation and file transcription for desktop Obsidian. Its setup downloads a native engine and a speech model. Confirm your Mac, language and model are supported before relying on it.
Will dictation create Obsidian links and task checkboxes automatically?
Do not assume so. Speak the content first, then verify the Markdown syntax for links, headings and tasks. A recognized phrase is not necessarily a valid wikilink or task list item.
Sources
- Obsidian Help: Audio recorder
- Obsidian Help: community plugins and installation
- Obsidian Help: basic formatting syntax
- Obsidian Help: internal links
- Apple Support: dictate messages and documents on Mac
- Obsidian community directory: Speech Kit
- Obsidian community directory: Dictation
- Murmur: features and requirements
- Murmur: privacy

Telman Gadimov builds Murmur, a dictation app for Mac that runs entirely on-device. We make Murmur, one of the options described here. Obsidian, Apple and plugin behavior was checked against the linked documentation on October 13, 2026. The example note and trial are suggested workflows, not measured product results.


