The quick answer
To dictate in Word on Mac, open an editable document and select Home → Dictate. Microsoft lists Option–F1 as the Mac shortcut and requires a Microsoft 365 subscription for the desktop feature. If that button is unavailable, a separate Mac dictation tool can supply text to an editable Word document. Microsoft’s setup instructions.
A missing Dictate button does not automatically mean your microphone is broken. You may be looking for a Microsoft service in an edition or account that does not include it. Conversely, a visible button does not prove that Word has permission to capture audio.
The fastest way to solve the problem is to identify the input tool first, then test it in a blank document. This guide separates licensing, microphone access and text insertion so you can change the setting that actually matters.
Choose the right speech-to-text route for Word
| Your task | Start with | What to check |
|---|---|---|
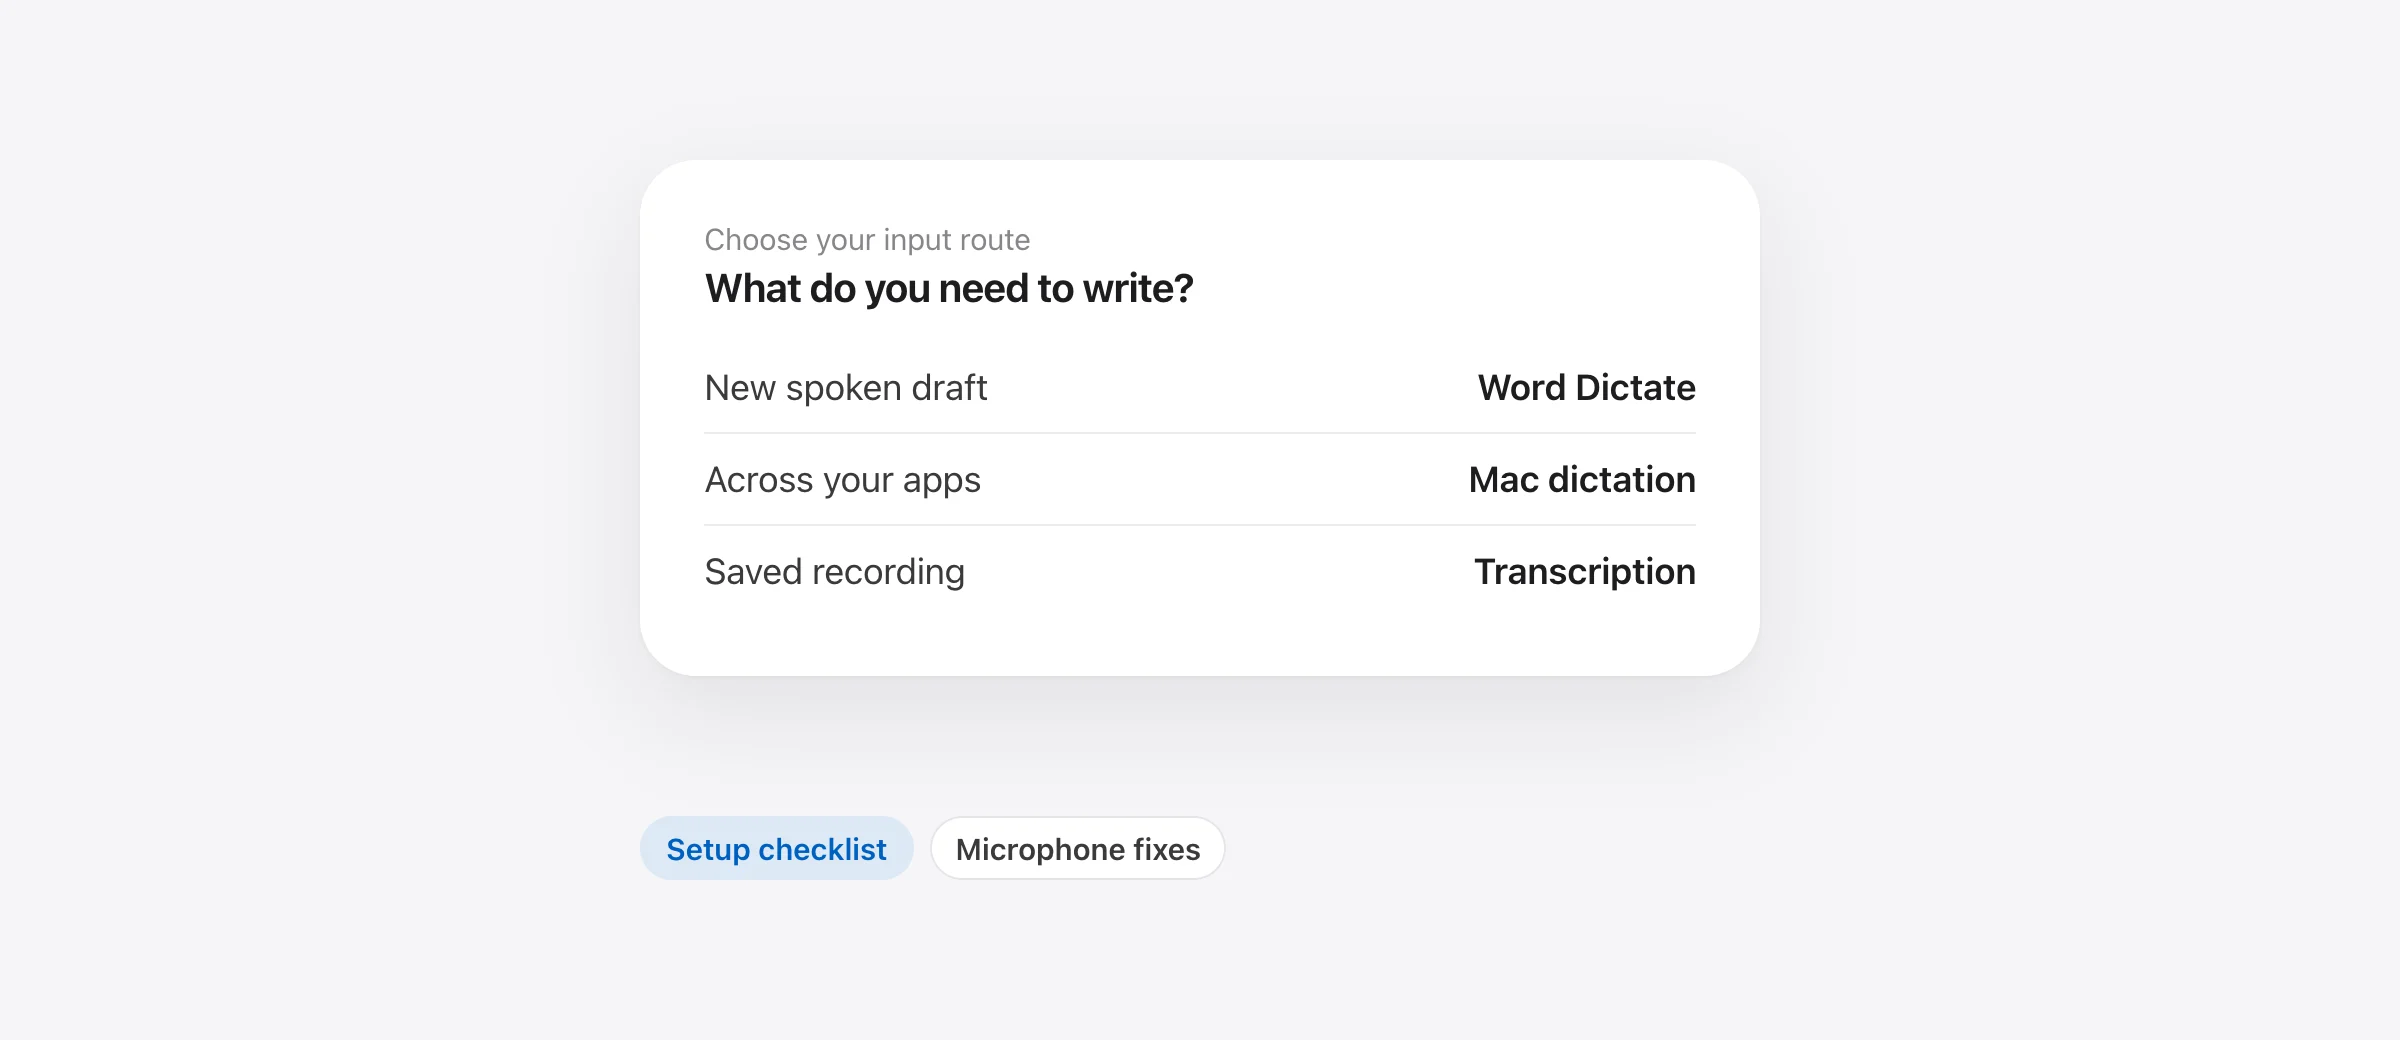
| Speak a new draft using Word’s controls | Microsoft Dictate | Account entitlement, connection and microphone |
| Speak into Word and other Mac apps | macOS Dictation or a separate dictation app | Editable destination, shortcut and insertion |
| Turn a saved recording into text | Microsoft Transcribe or a file transcription app | File support, speaker labels and export |
These routes can produce text for the same document, but their setup and results differ. For example, a transcript with timestamps is useful when you need to return to an interview recording. It is unnecessary overhead when you only want to write a two-paragraph project update.
Set up Microsoft Word dictation on Mac
Allow about three minutes if Word is already installed and your account is ready. Microsoft’s Dictate guide requires a microphone and reliable internet. Its service processes speech through Microsoft.
- Open a blank document. Type a few words to establish that editing works, then remove the test text.
- Start Dictate from the Home tab. Wait for its listening state before speaking.
- Speak one short sentence. Use ordinary words first; save names and technical terms for the second test.
- Stop capture and check the insertion. Confirm that the full sentence reached the intended paragraph.
The short test is deliberate. If your first attempt is a long report, it is harder to tell whether missing text came from setup, cursor placement, or a recognition problem halfway through the session.
If the menu works but the shortcut does not, keep using the menu while you resolve the key conflict. A shortcut failure and a speech-recognition failure are separate observations. Record which one you actually see before changing settings.
Fix a missing Dictate button before changing the microphone
Start with the account signed into Word, not the email address you usually use in your browser. Confirm which account owns the active subscription. A personal account and a work account can be present on the same Mac while having different entitlements.
Microsoft’s troubleshooting guide directs users with a missing button to verify an active Microsoft 365 subscription. A product name such as “Word for Mac” is too broad to settle that question.
Do not treat a support article’s long “Applies To” list as a guarantee that every listed edition includes every feature. Use the feature-specific requirements. This is particularly relevant when an article covers both perpetual licenses and subscription versions.
If your organization manages Word, give IT the app version, signed-in account type and the missing control’s name. Ask whether the feature is available in that installation. Avoid changing organization-managed privacy settings just to match a screenshot from a different edition.
While resolving access, you can evaluate a separate input method below. It can help you continue drafting, provided the document already permits editing. It cannot bypass document protection, a read-only share or an unlicensed editor.
When Dictate opens but cannot hear you
Check the audio path with a short local recording. If the recording is silent too, focus on the input device. If it sounds clear, focus on the app that is requesting microphone access.
On current macOS versions, review System Settings → Privacy & Security → Microphone. The permission must belong to the application capturing speech: Word for desktop Dictate, the browser for a web workflow, or the separate dictation app you chose. Apple documents the app-level microphone control.
| What you observe | Check next | What the test tells you |
|---|---|---|
| Typing does not work either | Document editing access | The destination is blocking input before speech is relevant |
| A local recording is silent | Selected microphone, mute and input level | The capture path needs attention |
| Recording works, Dictate reports access denied | Permission for the capturing app | Working hardware does not establish app permission |
| Words appear in another field | Cursor focus before activation | Recognition may work while insertion targets the wrong place |
| Ordinary words work, names do not | Vocabulary handling | Repeated terminology needs a different fix from microphone access |
Repeat the same sentence after each change. If you switch the microphone, network and app together, a successful result will not tell you which change was responsible. For repeated names, use the Mac dictation custom vocabulary guide.
Use Apple Dictation with an editable Word document
Enable System Settings → Keyboard → Dictation and inspect its shortcut. Focus the Word document body, then activate that system shortcut. Apple’s Dictation guide explains language and microphone selection; Keyboard settings also describe whether your configuration needs internet.
This is a separate input route. It does not depend on finding Microsoft’s Dictate button. Test it with Word’s own Dictate control stopped so you can tell which system is listening.
Run three small checks before drafting a full page: insert a sentence, replace a selected phrase, and continue in a new paragraph. These test different parts of the workflow. Successful plain-text insertion does not establish that every selection or formatting action behaves as expected.
For system-level problems, see Mac Dictation not working. For the equivalent browser-document workflow, use Google Docs voice typing on Mac.
Write a structured brief without dictating the formatting
A useful first Word document is a one-page brief with three sections: decision, reasons and next action. Create the headings before you speak. Put the cursor below one heading and dictate only the content that belongs there.
Here is an original practice brief. It is a reference for checking meaning, not measured output from any app:
“Keep the current onboarding flow for this release. The new design needs another accessibility review, and we have not checked the translated screens. Ask Mina to confirm the review owner by Thursday. Do not announce a launch date yet.”
The critical details are the decision to keep the current flow, two incomplete checks, the owner request and the restriction on announcing a date. A transcript that sounds polished but drops the restriction is not ready to send.
During the first pass, correct factual mistakes and misplaced text. During the second, apply the document’s heading and list styles. Keeping those passes separate makes it easier to see whether speech input helped with drafting or merely created a new formatting chore.
If the document uses a company template, test inside that template after the blank-document check. A body paragraph, a table cell, a comment and a text box are separate destinations. Use the ones your actual work requires instead of assuming a successful paragraph covers all of them.
Download the Word dictation checklist for the setup checks, sample brief and acceptance questions.
Dictate versus Transcribe: what to use for recordings
Do not play a recording through speakers into a live dictation microphone as your first transcription method. That adds another audio capture stage and makes it harder to preserve timing and speaker turns.
Microsoft’s Transcribe documentation describes recording or uploading audio, reviewing timestamped text and inserting it into a document. For the browser workflow, it specifies Edge or Chrome. Recordings are saved in OneDrive; this is a different storage arrangement from a live text-entry session.
For an existing interview, first decide whether you need a full transcript, quotations you can verify against audio, or a summary. Those are different deliverables. Retain the original recording as your reference when checking a quote or speaker attribution.
If you prefer a dedicated Mac application for file work, our MacWhisper vs Superwhisper comparison examines transcription, dictation and transcript review. Murmur focuses on speaking new text into apps; it is not a substitute for an audio-file transcription workspace.
When a separate local dictation app helps
A separate tool is worth considering when you repeatedly use the same names, snippets and writing style in Word, email and chat. The benefit to evaluate is continuity across those destinations, not simply the existence of another microphone button.
Murmur inserts speech with a right-Command hold shortcut, provides dictionary entries and saved snippets, and runs speech and writing cleanup locally. It requires Apple silicon and macOS 26 or later; AI features need Apple Intelligence. The regular license is $19 once for up to three Macs, with 2,000 trial words available without an account. Version 1 updates are included.
Use that allowance to test your actual Word version and template. Check a plain paragraph and the specialized field you use most. This article does not establish a special Word integration or compatibility with every document control.
For offline work, confirm that both the document and the selected speech workflow remain usable after disconnecting. Local recognition does not change OneDrive settings or turn a shared file into local-only storage. Save a local draft when that is the destination your work requires.
Frequently asked questions
What is the dictation shortcut in Word for Mac?
Microsoft lists Option–F1 for Word’s Dictate feature. That shortcut is different from the one configured under macOS Keyboard settings. If it does not activate the intended tool, start from the relevant app’s controls.
Why is the Dictate button missing in Word on my Mac?
Check the signed-in account and its entitlement first. Microsoft documents the desktop feature as a Microsoft 365 subscriber feature. Owning a perpetual Word edition is not sufficient evidence that this particular button should appear.
Can I speak into Word without buying Microsoft 365?
If you already have a Word installation that lets you edit documents, you can evaluate macOS Dictation or a separate text-insertion app. Those input methods do not grant a Word license or unlock a read-only document.
Can Word dictation work offline?
Microsoft’s Dictate service needs internet. For offline writing, test a local dictation tool with a locally available, editable document. Speech processing, document access and cloud synchronization are separate requirements.
Can Dictate transcribe an existing audio file?
Use an audio-file transcription workflow for a saved recording. Microsoft calls its separate feature Transcribe. It is different from speaking new text at the document cursor; check its supported platform and account requirements before uploading.
Sources

Telman Gadimov builds Murmur, a dictation app for Mac that runs entirely on-device. We make Murmur. Microsoft and Apple instructions were checked against official documentation on October 13, 2026. This is a documented setup guide, not a hands-on benchmark of Word editions. The sample brief and diagnostic worksheet are original exercises.


